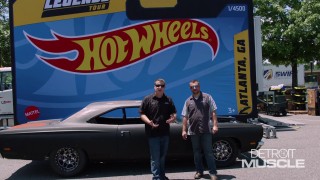
Tackling The Worn Out Road Runner Interior - Part 4
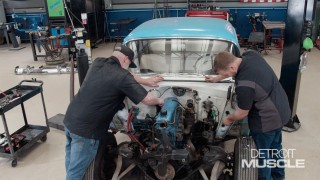
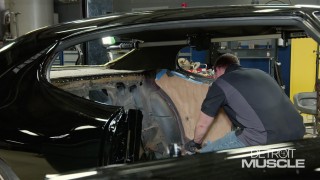
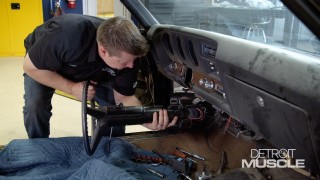
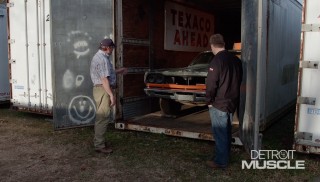
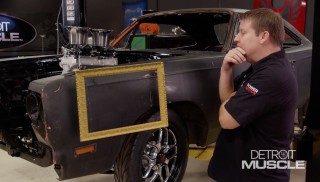
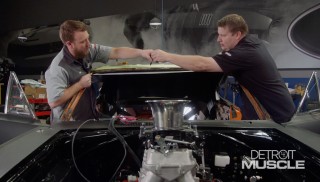
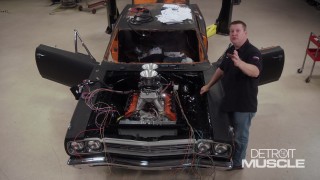
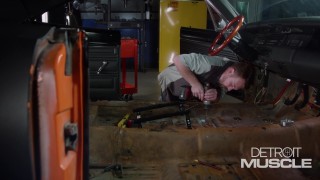
Tommy and Joel give the ’69 Road Runner’s interior a much-needed makeover. We’ll restore the dash and give the seats and headliner some much needed attention.
Season 9
Episode 5