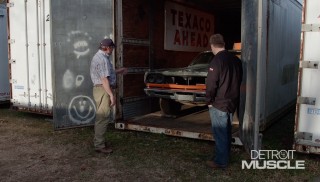
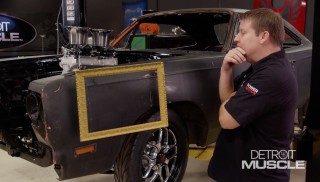
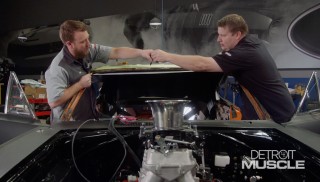
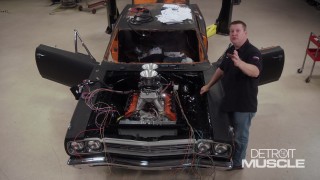
Bringing A ’69 Road Runner Back From The Brink Part 1
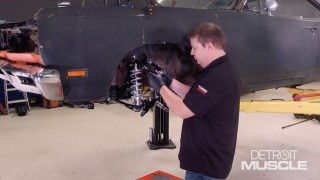
The Detroit Muscle team begins their journey of bringing a ’69 Plymouth Road Runner back from the brink. The first step, upping its ground game.
Season 9
Episode 2
Hosts: Tommy Boshers, Joel McMillan
First Air Date: April 18, 2022
Duration: 21 minutes 30 seconds