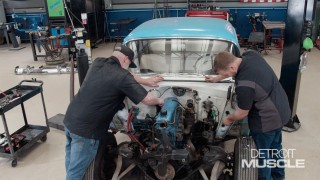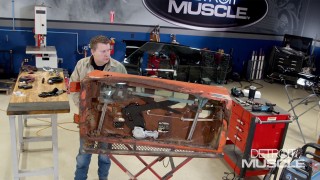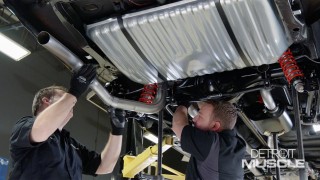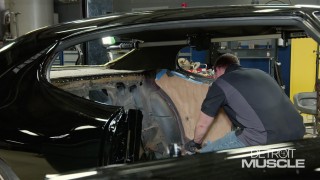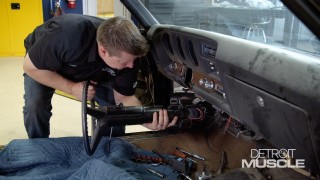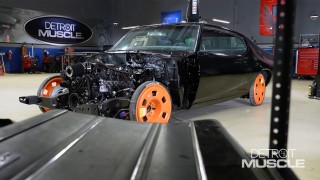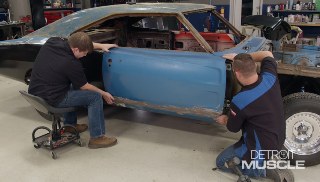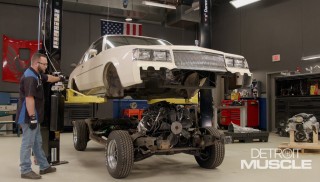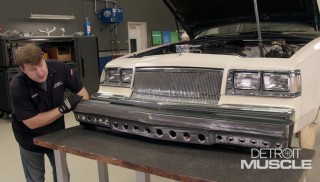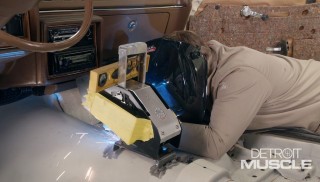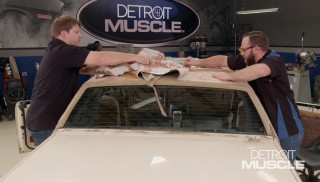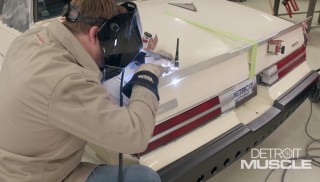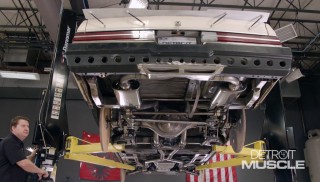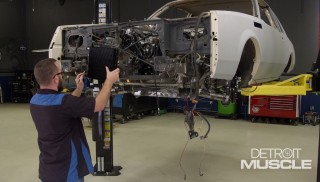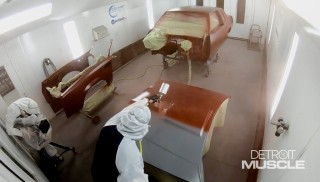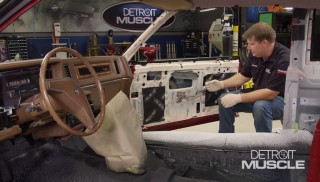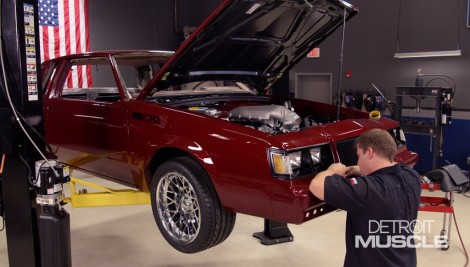
G-Body Buck Regal Build, Checking Glass and Trim Off the List
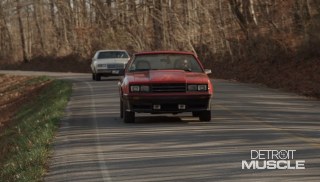
Tommy and Marc give us some tips on painting trim and glass installation before our '85 Buick gets a new interior. Plus a Chevelle owner in need of a little rescuing.
Season 7
Episode 19