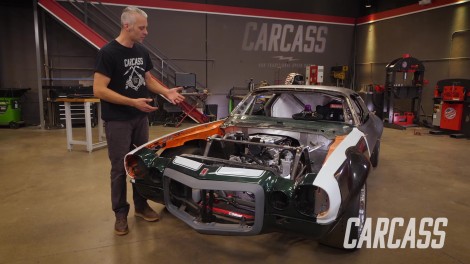
Road Course Camaro Part 11 Plumbing Problems
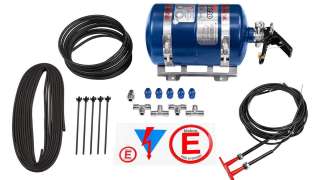
The '72 Camaro is taking shape. We fabricate the rear window setup, then we address the plumbing for our dry sump oil pump. Plus we install a fire suppression system for safety.
Season 5
Episode 4
Hosts: Jeremy Weckman, Jimmy King
First Air Date: March 25, 2024
Duration: 21 minutes 27 seconds