Road Course Camaro Part 9 Front Clip Fabrication
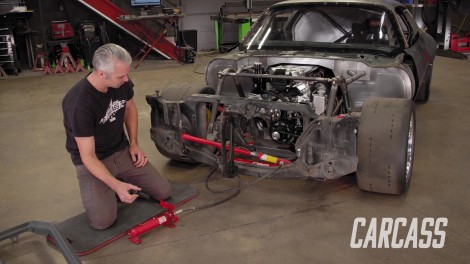
The Carcass Crew jumps back on their 1972 Camaro, metal working the damaged core support. They show you the right techniques to bend and manipulate metal brackets to save you money. They'll also show you how they are going to install the carbon fiber fenders.
Season 5
Episode 1
Hosts: Jeremy Weckman, Jimmy King
First Air Date: March 4, 2024
Duration: 21 minutes 27 seconds