Road Course Camaro Part 8 Rear Axle and Brake Mockup
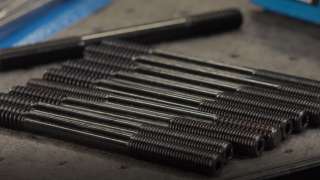
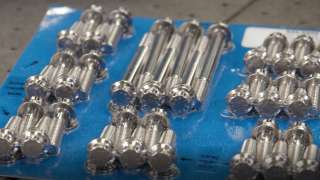
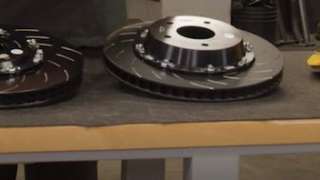
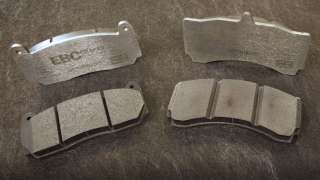
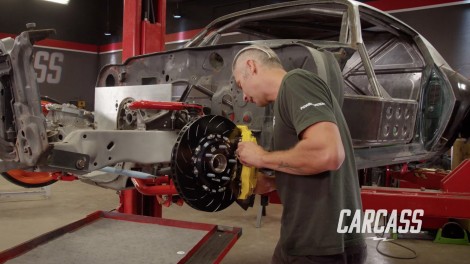
Our rear axle needs new mounting points for our shocks to bolt to our '72 Camaro, so we fabricate new brackets. We also mock-up our rear brake setup to our axle before giving it a fresh coat of paint.
Season 4
Episode 17
Hosts: Jeremy Weckman, Jimmy King
First Air Date: November 6, 2023
Duration: 21 minutes 27 seconds