Restoring The Abandoned Chevy Silverado Paint Back To Its Former Glory
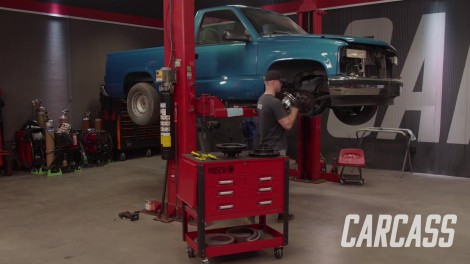
Our '96 Chevy Silverado gets new body parts. Plus we’ll prep it for paint and show you how we are restoring the original color before hitting the road.
Season 3
Episode 11
Hosts: Jeremy Weckman, Jimmy King
First Air Date: May 30, 2022
Duration: 21 minutes 30 seconds