Spec Miata Hammers Down at the Track
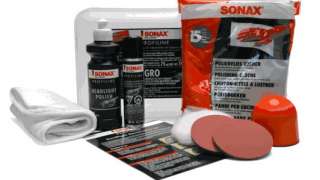
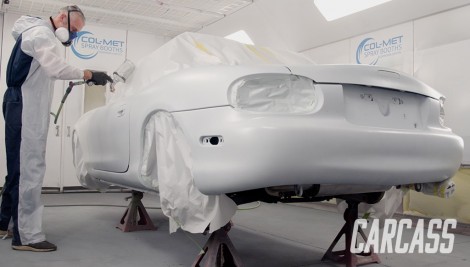
We show you painting tips on how to properly prep your aging clear coat for paint. Then we give our Mazda a fresh look before heading to the track to test those performance parts!
Season 3
Episode 4
Hosts: Jeremy Weckman, Jimmy King
First Air Date: February 28, 2022
Duration: 21 minutes 30 seconds