Hear The Willys' 383 Stroker Small Block Chevy Roar
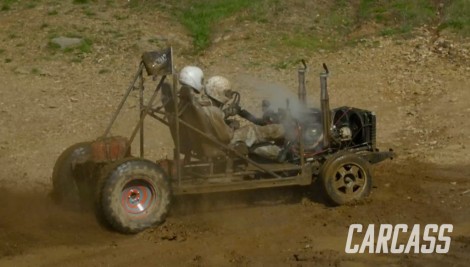
The Willys Mud Wagon gets a 630HP powerhouse that screams, and Jeremy and Jimmy take FrankenRegal out for a mudding adventure.
Season 1
Episode 8
First Air Date: July 14, 2020
Duration: 21 minutes 33 seconds