Reviving the Mud Wagon's 600HP Monster to the Max
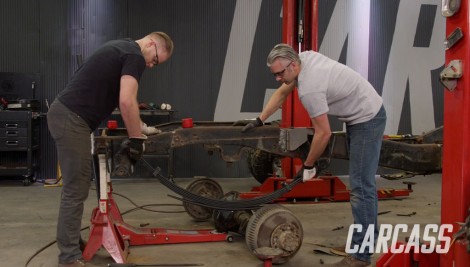
The Carcass team prep the Willys cab for a hefty chassis, and give the undercarriage of their military ambulance a lift with some suspension upgrades.
Season 1
Episode 7