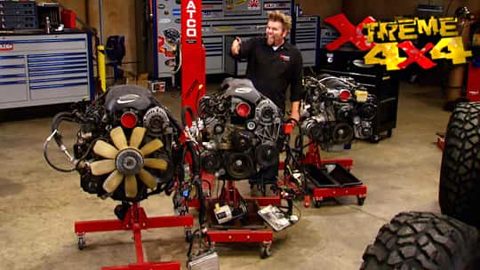
The LS Series Engines for Off Road
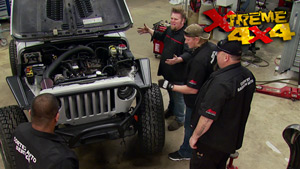
The GM small block was transformed in 1997 with the introduction of the LS1. Since then hundreds of thousands of these high output, high mpg electronic fuel injected motors have rested in the scrap yard. We show what to look for and how to hook 'em up.
Season 6
Episode 22
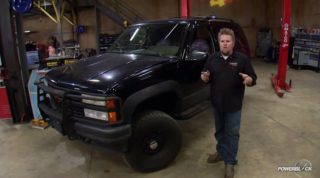
Hosts: Ian Johnson, Chris Hagewood
First Air Date: November 27, 2010
Duration: 18 minutes 3 seconds