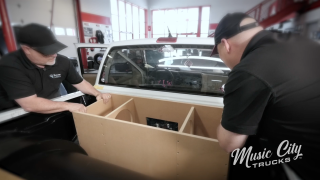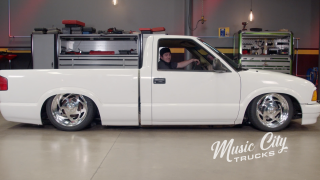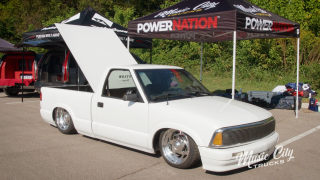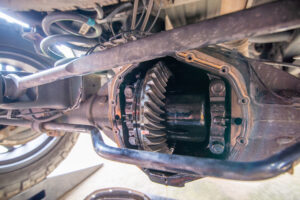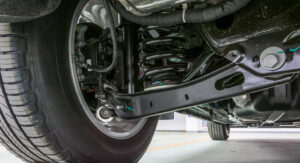
Ditching The Chevy S-10's Leaf Spring Setup In Favor Of A 5-Link Kit
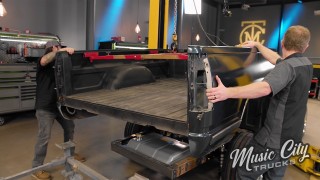
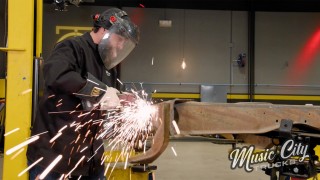
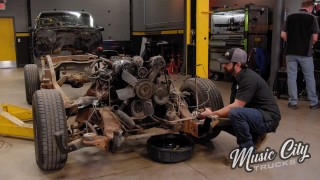
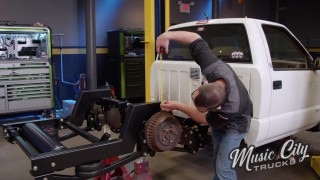
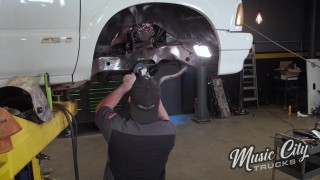
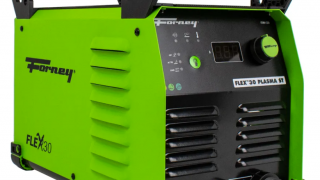
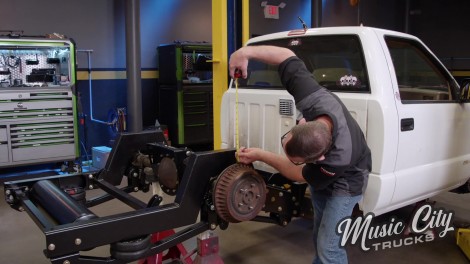
We tear into our Low-Fi S-10 project and the rear suspension is our focus. We remove the bed & suspension and leave it frameless. Then we put it all back together and lower it to the ground. Plus, we give you some great welding and plasma cutting tips.
Season 3
Episode 8