Altered E-Go Lexan Windows
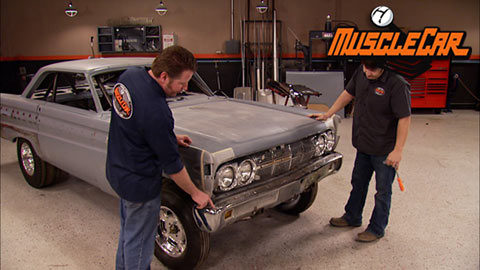
MuscleCar's A/FX drag car, Altered E-Go, gets more custom touches with a new fender profile and front bumper. Rick shows how the Lexan slider windows are designed and constructed. Flashback features a 1965 Chevelle SS396.
Season 5
Episode 13
Hosts: Rick Bacon, Tommy Boshers
First Air Date: July 24, 2010
Duration: 17 minutes 21 seconds


