Edelbrock Mustang Track Car
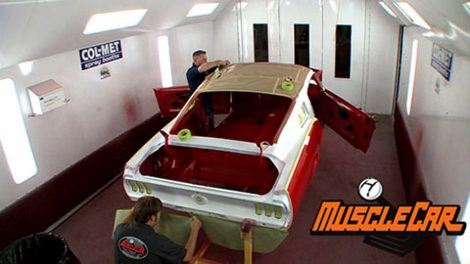
Rick and Tommy give HorsePower a hand with their '68 Mustang Track Car by re-skinning the roof and giving it a tri-tone, single-stage paint scheme that's a tribute to Vic Edelbrock.
Season 5
Episode 1
Hosts: Rick Bacon, Tommy Boshers
First Air Date: January 9, 2010
Duration: 17 minutes 55 seconds


