Wheels, Chrome and Block Paint
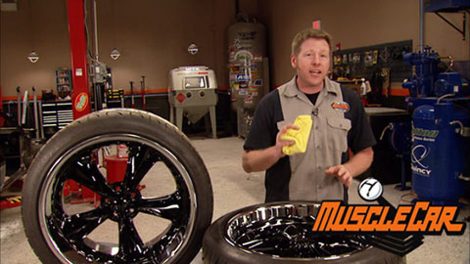
Pick up some paint tech tips as Rick and Tommy show how to repaint an engine block, pinstripe wheels, and paint chrome.
Season 4
Episode 19
Hosts: Rick Bacon, Tommy Boshers
First Air Date: July 25, 2009
Duration: 16 minutes 47 seconds


