Expert Do's and Don'ts of Modified Bumper Plating
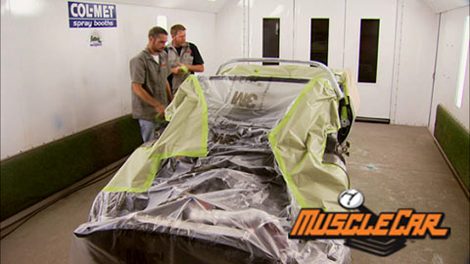
The Tribute Trans Am gets blown apart for final prime, and the convertible top frame is disassembled. Rick and Brent take a trip to Advanced Plating for some tips on prepping modified bumpers for plating. Get a preview of Project Streetfighter, a '71 Cuda MuscleCar will build for UFC President Dana White. Flashback takes us back to 1970 for a look at a Cougar Eliminator.
Season 3
Episode 21
Hosts: Brent Buttrey, Rick Bacon
First Air Date: August 9, 2008
Duration: 16 minutes 43 seconds


