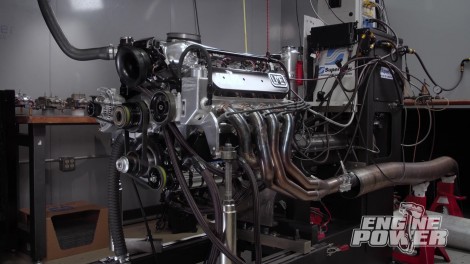


Engine Power Featured Projects


Engine Power Builds


Want more content like this?
Join the PowerNation Email NewsletterParts Used In This Episode


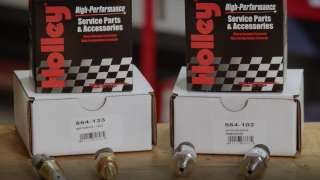
Earl's Performance Plumbing
Hoses and Fittings
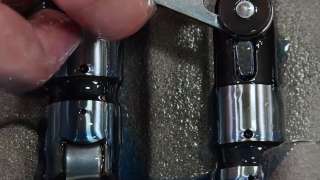
Goodson Shop Supplies
Sunnen Cylinder Honing Supplies
Goodson Shop Supplies
Sunnen Portable Bore Hone Driver, Honing Stones, Truing Sleeve, and Dresser
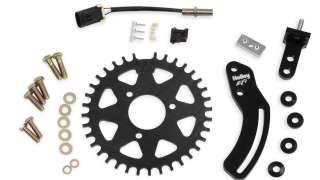
Jesel Inc.
Jesel Belt Drive Kit
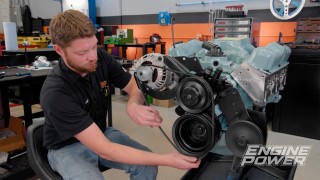
Jones Racing Products
Accessory Drive
K1 Technologies
K1 Technologies Chevrolet 350 Crankshaft
Late Model Engines
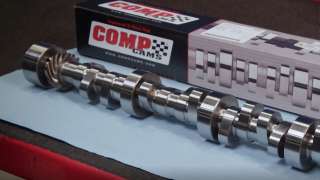
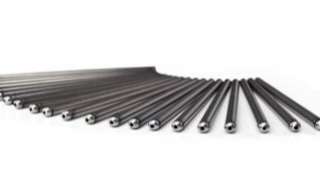
Crower Rocker Arms
Late Model Engines
Custom Valve Cover
Late Model Engines
Intake Manifold
Late Model Engines
LME CID LS7 Cylinder Heads
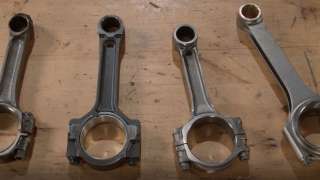
Manley Performance
Manley Pro-Series I-Beam Connecting Rods
Moroso
Moroso Dry Sump Pump
Shacklett Automotive Machine
Machine Work
Wiseco Performance Products
Wiseco Flat Top Pistons


