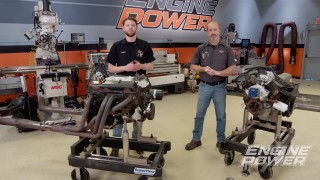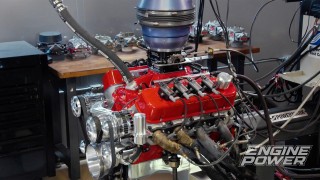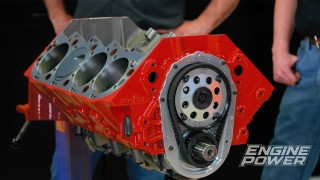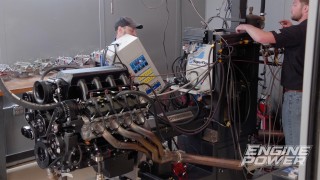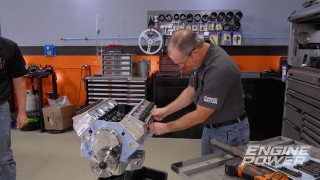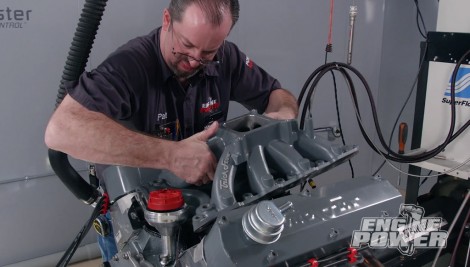
Single Vs. Dual Plane Manifold: Which Will Make More Power For Our Ford 302
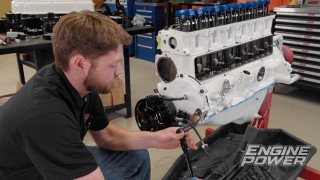
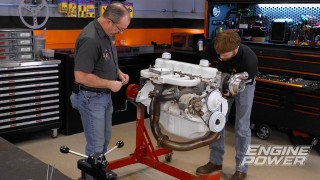
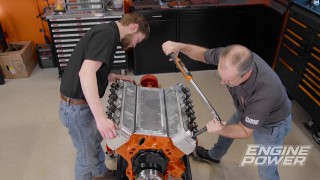
Previously, our forgotten Ford powerplant pumped out stout numbers in the dyno cell. Our goal this time: even more power!
Season 7
Episode 21