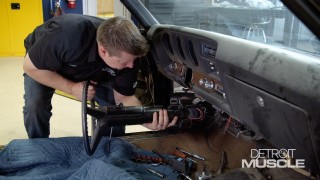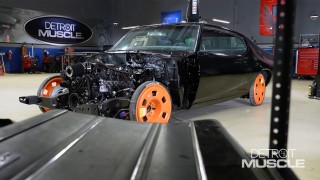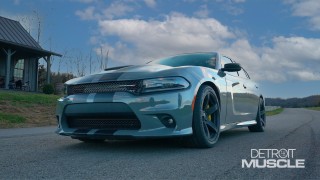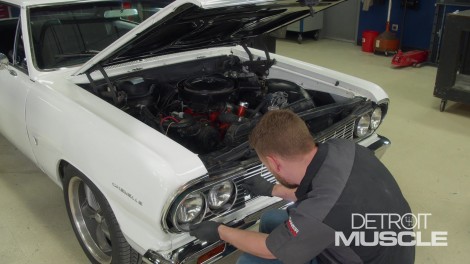
1964 Chevelle Malibu Gets A Facelift
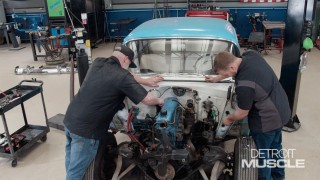
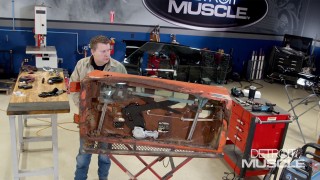
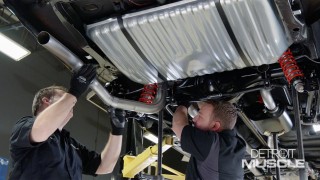
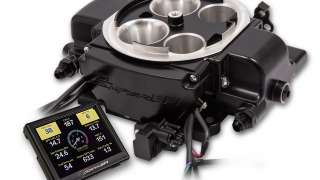
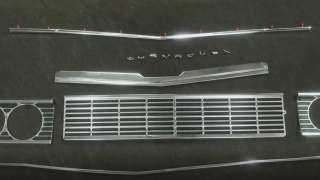
From fuel injection to chrome jewelry, Tommy and Joel pull off a budget-friendly refurbish you can do in a weekend on a 1964 Chevy Chevelle.
Season 10
Episode 6