Converting The '70 RestoMod Mustang Suspension From Leaf Spring To Coilover
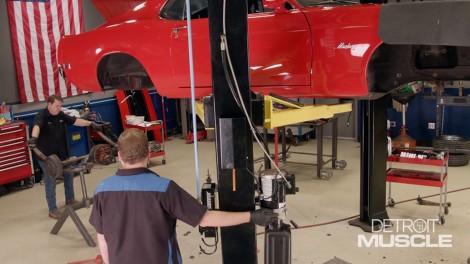
The Detroit Muscle team dives into the EBC Mustang Sweepstakes car, but things may have to get worse before they can get better. The first step is to build a solid foundation for this Resto Mod.
Season 8
Episode 12
Hosts: Tommy Boshers, Daniel Boshears
First Air Date: June 26, 2021
Duration: 21 minutes 35 seconds