


More Hard Charger Episodes


Detroit Muscle Featured Projects


Detroit Muscle Builds


Want more content like this?
Join the PowerNation Email NewsletterParts Used In This Episode
ARP
Engine and Accessory Fastener Kit
Derive Systems
SCT Tuner - 2014 Camaro SS
Holley
Intech Cold Air Intake for 2010 - 2015 Chevy Camaro
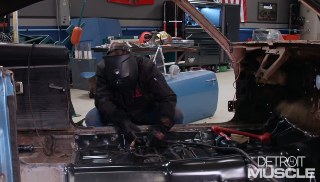
Lincoln Electric
Lincoln Electric is the official welding supplier of Detroit Muscle.
M&M Hot Rod Interiors
Leather ReUpholstering
Sea Foam
Sea Foam HIGH MILEAGE Motor Treatment helps keep higher mileage gas cars & trucks on the road longer. Specially formulated for engines over 75,000 miles – just pour it in your fuel & oil!
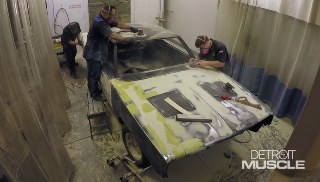
Sonax USA
Polish and Compound
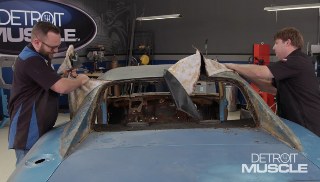
YearOne
Interior door panels and hardware