


Detroit Muscle Featured Projects


Detroit Muscle Builds


Want more content like this?
Join the PowerNation Email NewsletterParts Used In This Episode
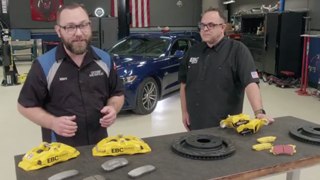
EBC Brakes
EBC Rotors, Yellow Stuff Pads, Custom Pads, Calipers & Apollo 4 Piston Calipers
Borla
Cat Back Exhaust for Mustang GT
Dannmar
Dannmar D10ACX
Lincoln Electric
Lincoln Electric is the Official Welding Supplier to Detroit Muscle
Matco Tools
MATCO Tools are the Official Tool Supplier to Detroit Muscle
Permatex
Blue Threadlocker
The Industrial Depot
Tools, Hardware, and Shop Supplies


