Road Course Camaro Part 7 Carbon Fiber Installation and Rear Assembly
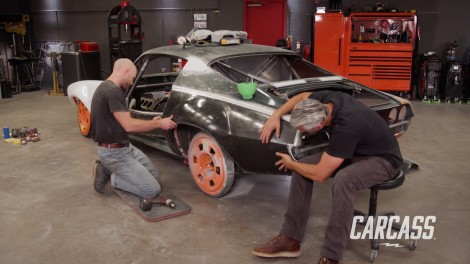
Our '72 Camaro is in the shop to start shedding some weight. We'll build our carbon fiber quarter panels. We also fabricate a new fuel fill system to accommodate our relocated tank.
Season 4
Episode 16
Hosts: Jeremy Weckman, Jimmy King
First Air Date: October 30, 2023
Duration: 21 minutes 27 seconds