Road Course Camaro Part 6 Roof Top Extension
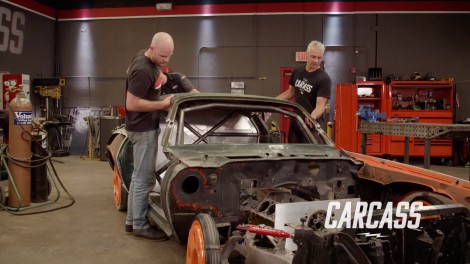
Our 1972 Camaro is ready for reassembly. The roll cage is welded up, so now it's time to reattach the roof. We'll show you some helpful techniques on how to reinstall your cut-off top. Plus, we head out to help a young viewer get his '91 Chevy Camaro back on the road in an all-new Driveway Rescue.
Season 4
Episode 14
Hosts: Jeremy Weckman, Jimmy King
First Air Date: October 16, 2023
Duration: 21 minutes 27 seconds


