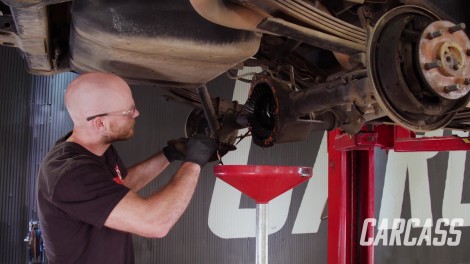
How To Set Up A Rear End To Meet Factory Tolerances On A Chevy Tahoe
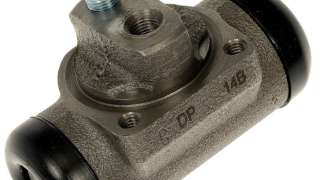
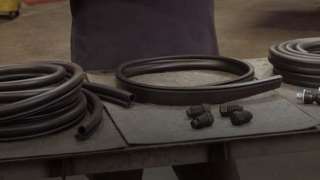
While freshening up the old drum brakes on our ’96 Chevy Tahoe, we noticed that we have a sloppy rear end. We'll tear down the ring and pinion and show you how to put it all back together, making sure our Tahoe's rear end is nice and tight.
Season 4
Episode 11
Hosts: Jeremy Weckman, Jimmy King
First Air Date: August 14, 2023
Duration: 21 minutes 27 seconds