Will The Overlanding Toyota 4Runner Upgrades Hold Up On The Trail? - Part 4
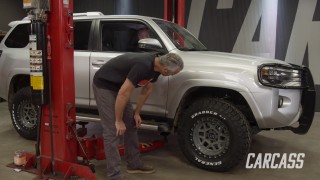
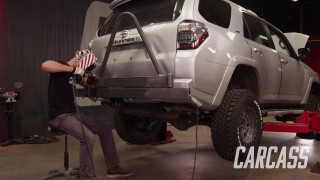
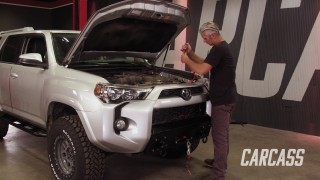
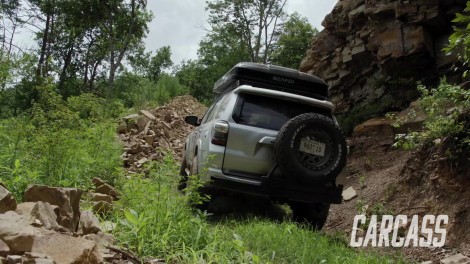
Our Overlanding Toyota 4Runner gets a new exhaust and a few creature comforts to help us while exploring the wild. Then the guys head out to Mother Nature's playground to see how it all performs.
Season 3
Episode 15