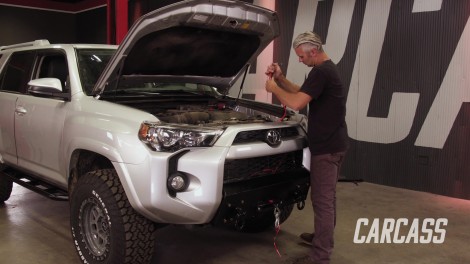
Overlanding Toyota 4Runner Gets Essential Off Road Accessories - Part 3
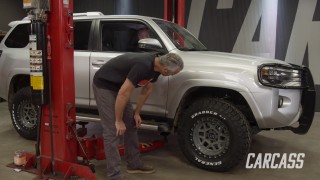
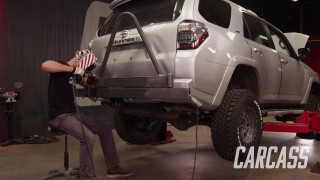
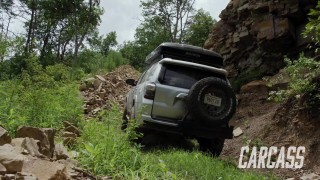
We begin adding accessories to our 2016 Toyota 4Runner Overlanding Project to get it ready for its next big adventure. We'll add a winch, roof top tent, LED lights, and more!
Season 3
Episode 14