Giving The Overlanding Toyota 4Runner Protection On The Trails - Part 2
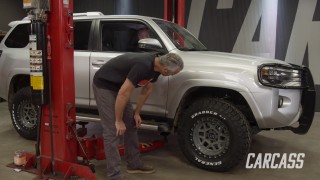
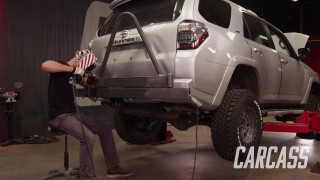
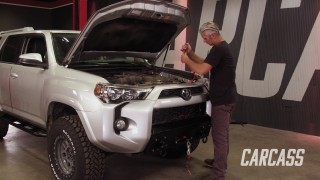
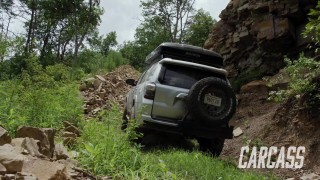
The Carcass Crew fabricates heavy duty bumpers and rock sliders to help protect their Overlanding Toyota 4Runner on the trails.
Season 3
Episode 13