Turning An Old Crown Vic Cruiser Into A Track Panther - Part 1
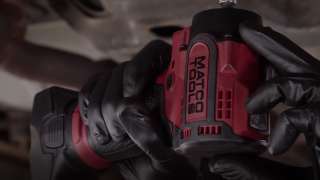
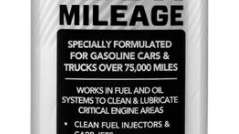
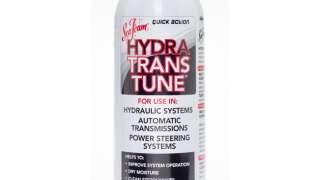
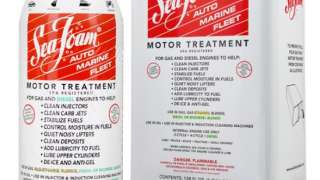
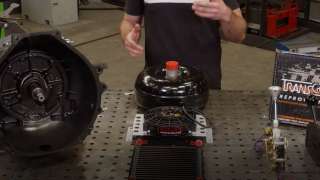
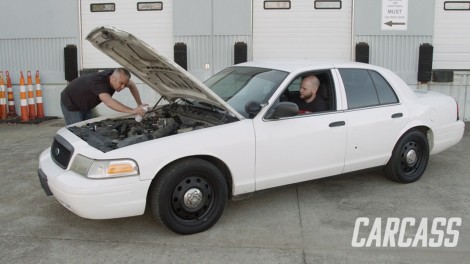
We start working on a new project with the novice racer in mind. We take a 2008 Ford Crown Vic Police Cruiser and turn it into a budget-friendly Spec Panther racing machine! Today we'll upgrade our transmission for better shifting and give the old power plant a tune-up.
Season 3
Episode 6
Hosts: Jeremy Weckman, Jimmy King
First Air Date: May 2, 2022
Duration: 21 minutes 30 seconds