Repairing An Abandoned Chevy Silverado - Part 1
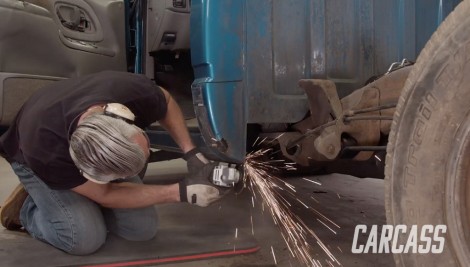
The Carcass crew gives you some tips on how to repair rusty trouble spots and remove dents on your project. Then we'll walk you through getting it ready for primer.
Season 3
Episode 5