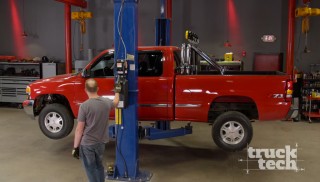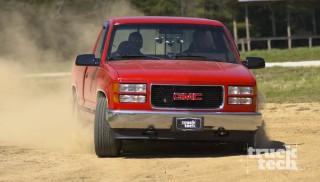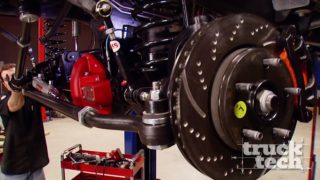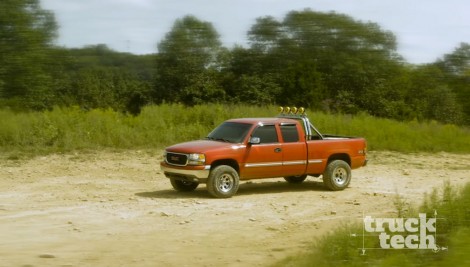
Making Room for Bigger Tires On Our Lifted GMC Sierra 1500
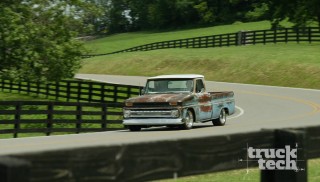
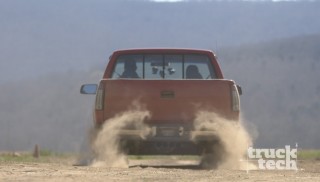
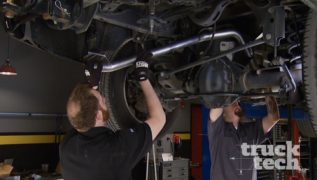
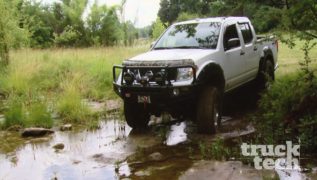
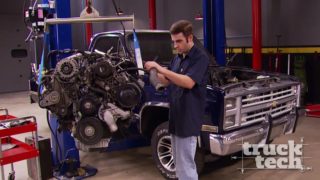
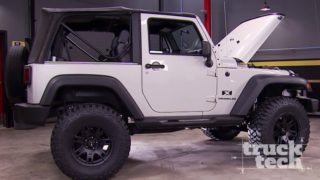
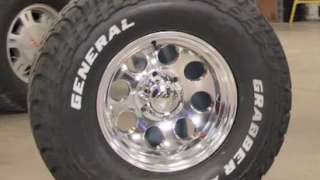
Transformation of our throwback Sierra continues with a lift kit, 33” tall tires, and a tune-up before we hit the trail for some wheelin’ in the country.
Season 7
Episode 20