Louver Punching 101: Add Style To Your Hot Rod
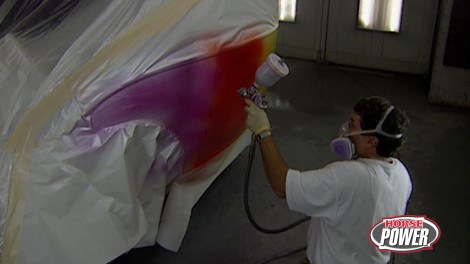
The '32 3-window is almost ready to fly the coop! We put the paint to the body of the Ford complete with a retro flame job. Then, time to bolt on more parts including headers and a shifter before adding the body. We check out how the pros punch louvers to make the mark of a real hot rod. Plus, we offer up some tips on how to hop up your Holley for maximum performance.
Season 4
Episode 7
Hosts: Joe Elmore, Chuck Hanson
First Air Date: September 22, 2022
Duration: 21 minutes 17 seconds


