Backyard Engine Build
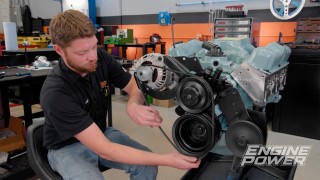
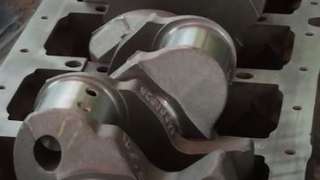
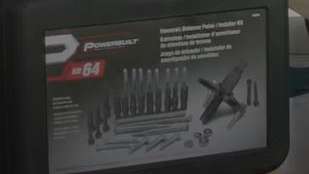
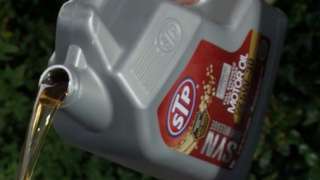
Out of the shop and into the yard! We take a weekend to rebuild a 350ci small block Chevy V8 engine like you would at your home. We’ll trade in our professional gear for tools you might have at your house to show you how to get the most out of your build.
Season 8
Episode 17
Hosts: Pat Topolinski, Frankie Forman
First Air Date: September 6, 2021
Duration: 21 minutes 35 seconds