Restoring a Scuffed Up Windshield - Road Runner Part 6
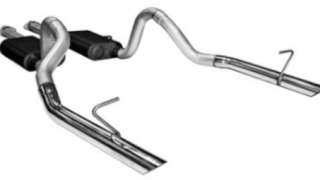
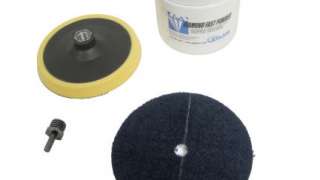
We get into some arts and crafts to create a one-of-a-kind emblem that redefines ransom wear and we’ll use some wool to clear up Road Burner’s eyes. When it’s all said and done, the guys will be literally exhausted.
Season 9
Episode 7