Wiring Hacks to Get Our Road Runner Amped Up - Part 5
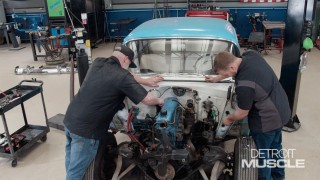
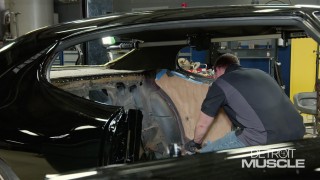
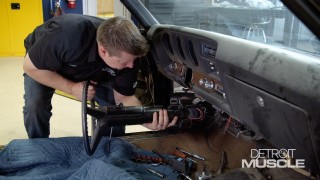
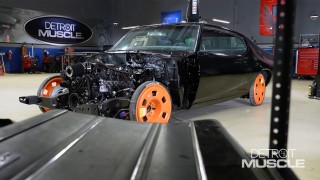
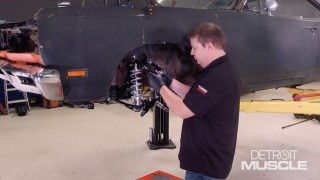
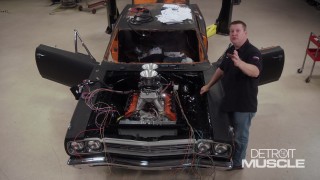
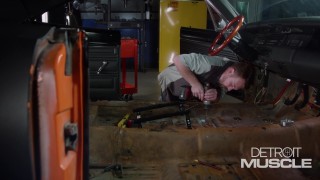
We make all the right connections and dash towards the finish line as we install new seats, wiring, and the steering column in our ’69 Road Runner.
Season 9
Episode 6