Better Handling Suspension Honda Rally Car Workout
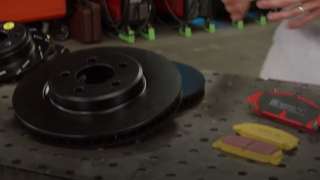
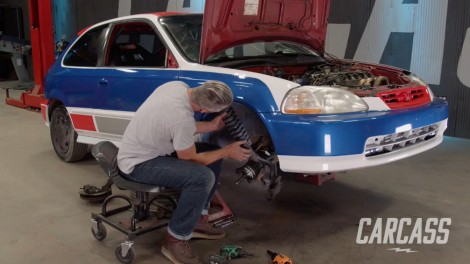
Our '96 Honda Civic gets some suspension upgrades with some new coil racing shocks. Then it's time to head to the rally course to put all our work to the test.
Season 2
Episode 16
Hosts: Jeremy Weckman, Jimmy King
First Air Date: September 14, 2021
Duration: 21 minutes 35 seconds