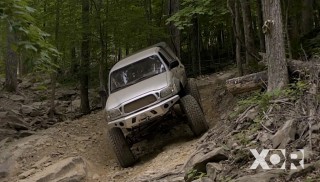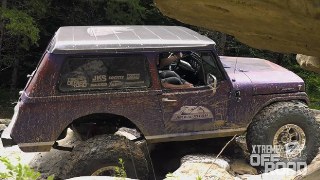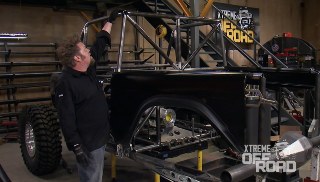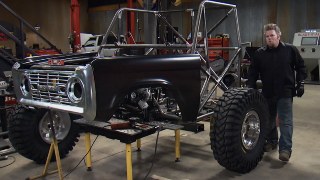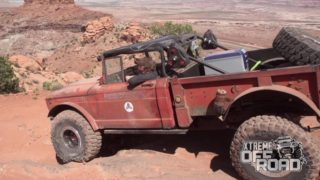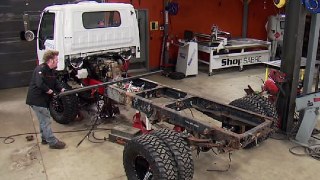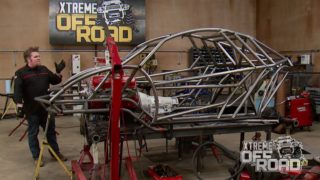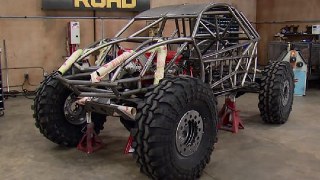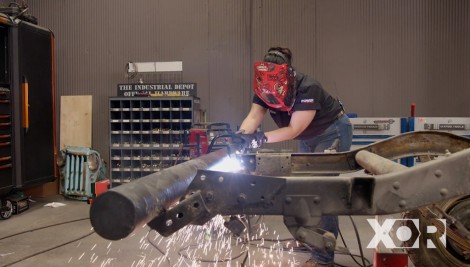
Building a Mudracing Willys Mega Truck
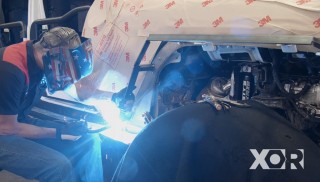
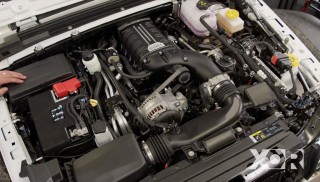
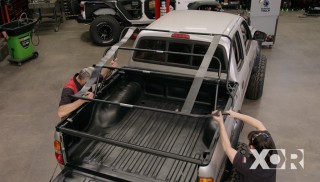
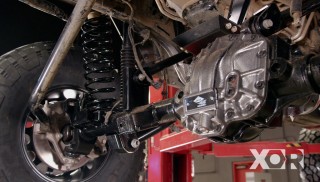
Let the cutting, grinding, and blasting begin! We’re boxing the frame on our 1963 Wicked Wet Willys in preparation for an 1100+ horsepower bullet from Engine Power.
Season 6
Episode 3
Hosts: Eliza Leon, Jeremy Weckman
First Air Date: January 27, 2019
Duration: 20 minutes 22 seconds