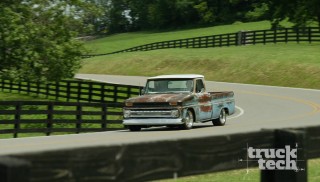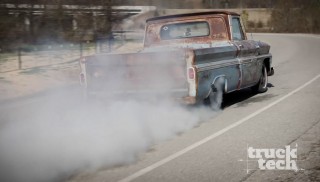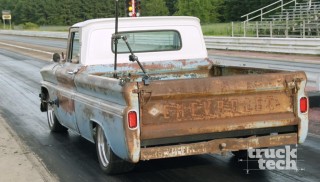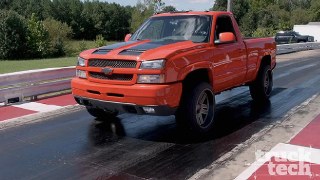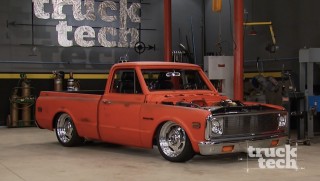
Style Over Substance: Muscle Trux Build-Off
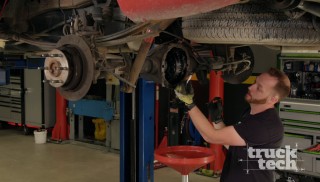
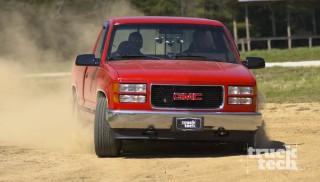
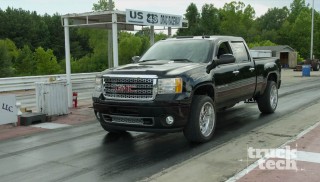
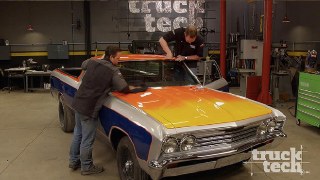
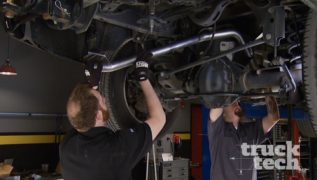
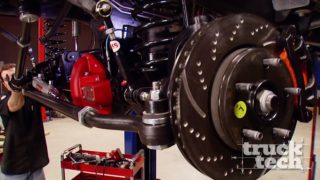
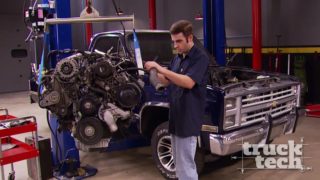
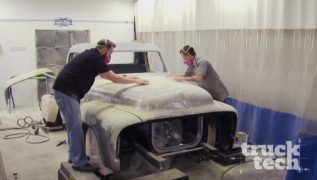
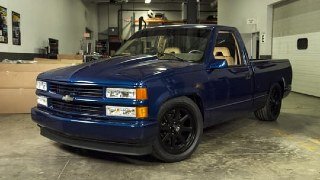
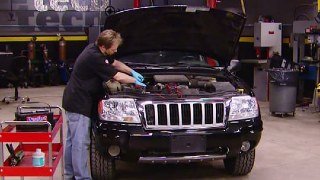
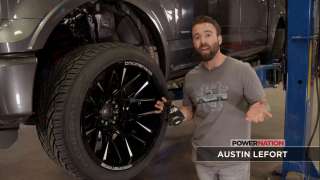
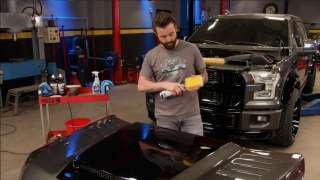
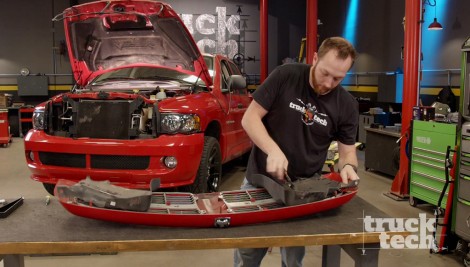
With power taken care off, improvements in the good-looks department include cowl hood, custom wheels, plus tips on restoring old paint
Season 7
Episode 11