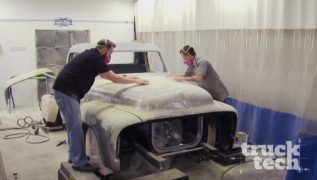
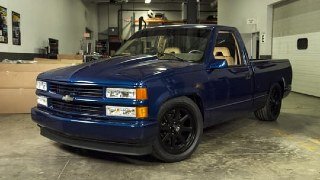
Truck Tech Builds


Want more content like this?
Join the PowerNation Email NewsletterParts Used In This Episode
Summit Racing
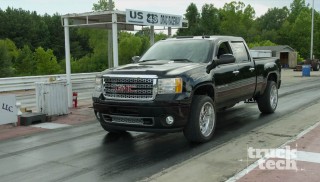
2013 GMC SIERRA 2500 HD Calvert Racing CalTracs Truck Traction Bars - Part No. CLV-3510
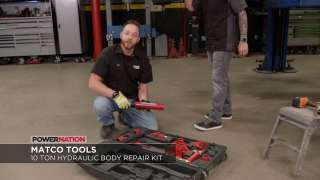
Matco Tools
MATCO Tools are the Official Tool Supplier to PowerNation
The Industrial Depot
Tools, Hardware, Shop Supplies


