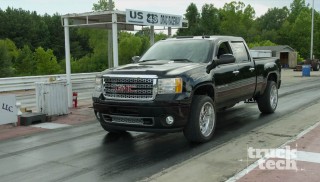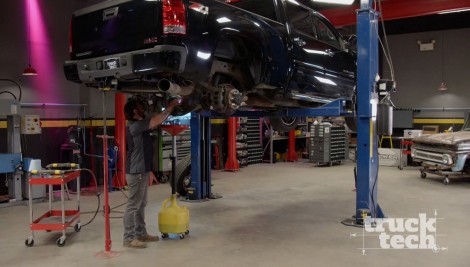
2011 Diesel Denali Gets Lowered
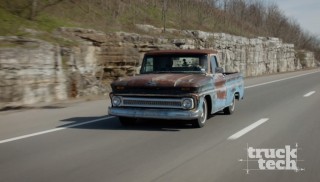
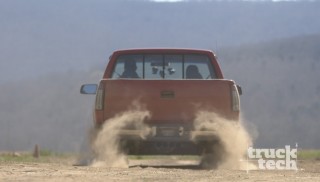
Our 2011 Diesel Denali nicknamed "Dragonali" gets lowered & de-badged, plus we're in a viewers’ driveway rescuing their beat up pick-up.
Season 6
Episode 16