


More Red Tide Episodes


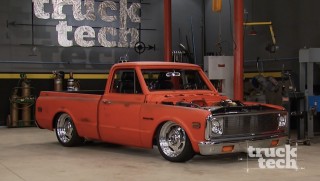
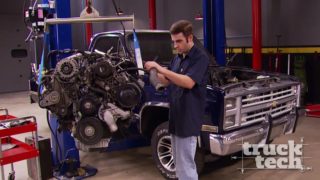
Truck Tech Builds


Want more content like this?
Join the PowerNation Email NewsletterParts Used In This Episode
Classic Industries
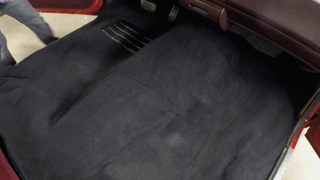
1981-87 Chevy/GMC Standard Cab Pickup 2 WD / Column Shift Charcoal Molded Cut Pile Carpet
Matco Tools
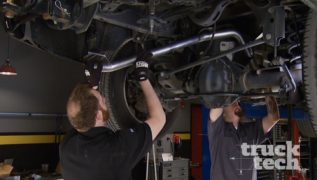
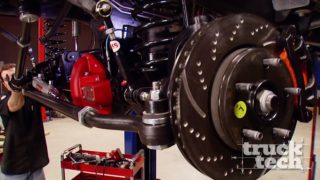
Matco Tools are the Official Tool Supplier to Truck Tech
The Industrial Depot
Tools, Hardware, and Shop Supplies


