New Camaro Performance Upgrades
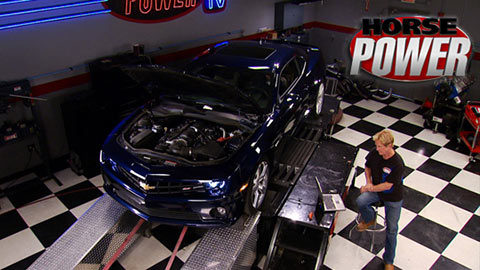
Mike and Joe install several performance upgrades on a 2010 Camaro, including a new Cold air kit, Headers and Exhaust. Then they'll reprogram the computer before testing on the shop's chassis dyno. Also, they'll build a Ford 302 on a budget of two grand.
Season 14
Episode 11
Hosts: Joe Elmore, Mike Galley
First Air Date: September 11, 2010
Duration: 17 minutes 58 seconds


