Outlaws Invade Alabama
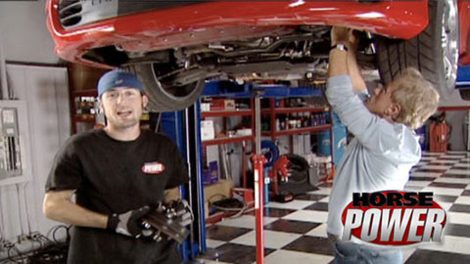
We launch this week's show with one of the wildest, heads-up racing events we've ever covered. It's the Outlaw Racing Street Car Association's points race from Huntsville, Alabama with cars crashing and records breaking on the eighth mile strip. Plus, we spotlight one of our favorite power-making projects during the past HorsePower season.
Season 10
Episode 23
Hosts: Joe Elmore, Mike Galley
First Air Date: November 11, 2006
Duration: 18 minutes 8 seconds


