Super Nova Fuel & Wiring
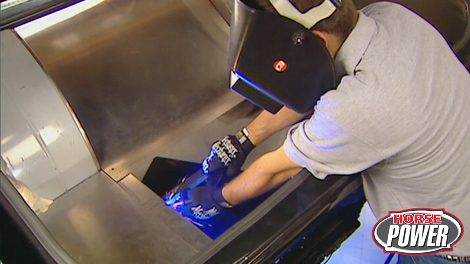
Chuck and Joe introduce their “new kid on the block”, Mike Galley, as they get the Super Nova ready for the drag strip. They’ll install a race-style fuel cell, fuel pump and regular. They’ll complete the fuel delivery system and the wiring, and then pump up the appearance of Joe’s ’96 Mustang with a unique seat makeover.
Season 8
Episode 4
Hosts: Joe Elmore, Chuck Hanson, Mike Galley
First Air Date: June 1, 2015
Duration: 17 minutes 48 seconds


