BEL AIR REAREND, EDELBROCK MUSTANG
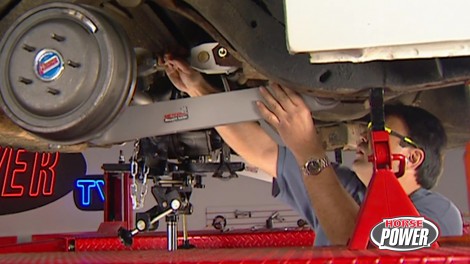
The Bel Air Bracket Racer is back in the Horsepower shop. It's getting a new 9" rear end, heavy-duty Billet control arms, and high-performance drag shocks. We also have tech on the best way to start up your street machine. Then, we visit a California car collection representing over 60 years of high-performance history.
Season 5
Episode 12
Hosts: Joe Elmore, Chuck Hanson
First Air Date: September 23, 2022
Duration: 21 minutes 12 seconds


