How To Bolt On 100 Horsepower To A Grocery-Getter
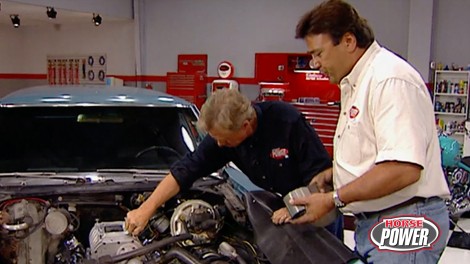
Do you want to bolt-on an extra 100 horsepower to your grocery-getter? You can and we show you how! Joe and Chuck take a wagon and add a supercharger. Then, they take a look at intakes and help you find the best manifold for your machine.
Season 3
Episode 3
Hosts: Joe Elmore, Chuck Hanson
First Air Date: April 27, 2022
Duration: 21 minutes 41 seconds


