Bolt-On 100+ Horsepower in a Day
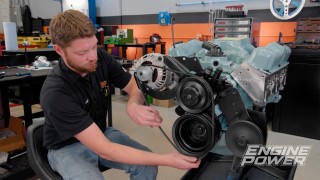
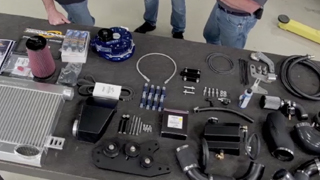
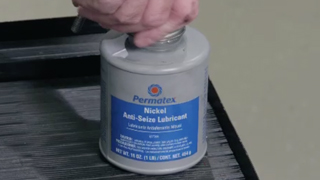
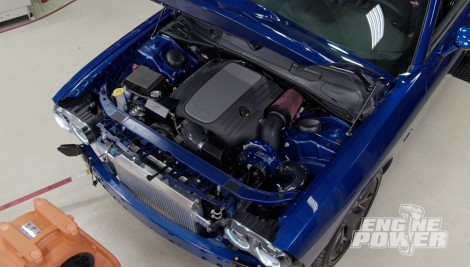
Power upgrades are great especially if you can bolt-on big performance in a day. Mike and Pat grab some wrenches to install a ProCharger supercharger on a 2019 Challenger ProCharger.
Season 6
Episode 17
Hosts: Mike Galley, Pat Topolinski
First Air Date: August 18, 2019
Duration: 20 minutes 22 seconds