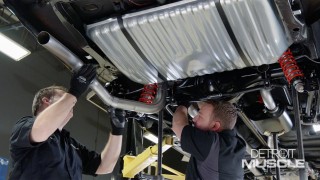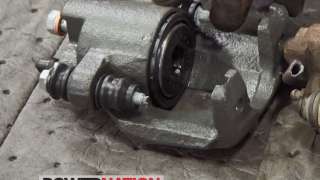
Upgrading the Drag Strip Caddy Hearse Rear Axle and Suspension
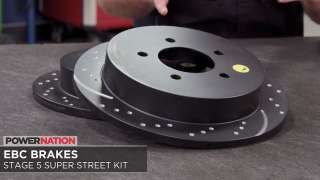
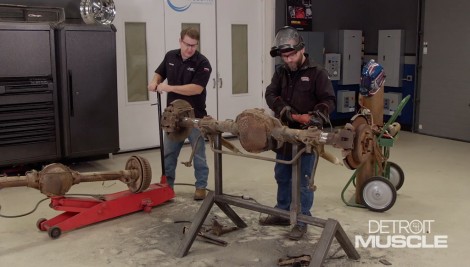
We add a new rear axle to our '76 Caddy Hearse drag car, helping all the horsepower to grip the pavement. Plus, we add brake upgrades to help bring it to a dead stop.
Season 8
Episode 5