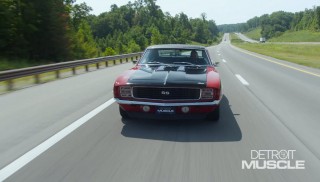
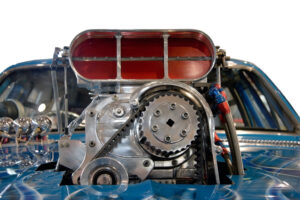
Squeezing the Heartbeat Of Our '69 Camaro Between the Fenders
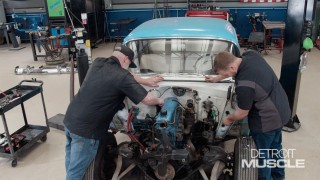
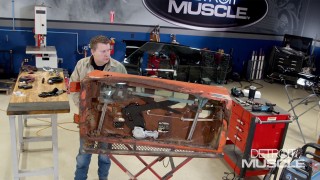
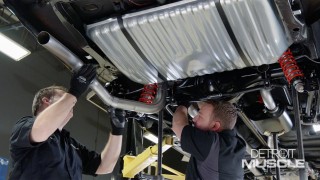
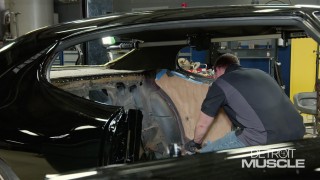
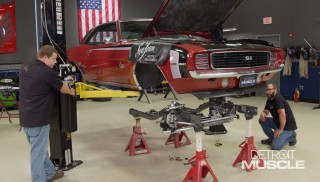
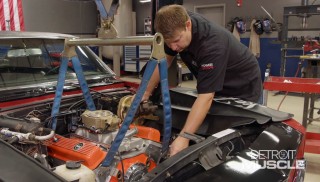
The guys down in Engine Power have finished beefing up our '69 Camaro' s engine with some high-performance parts, now we have to install it and upgrade the drive train so it can hold it's own with today's modern muscle.
Season 7
Episode 16