How We Added Carbon Fiber Panels To Our ’72 Race Course Camaro
As we demonstrated in one of our previous episodes, sculpting carbon fiber panels from scratch is a lot easier said than done. It involved a lot of mixing solutions to create a fast-acting foam, which led to hand-sculpting foam molds, which led to fiberglass molds, which then finally led to our carbon fiber panels for our 1972 Road Course Camaro race car. Now that we’ve got that out of the way, it is time to install them onto the car. Watch the full episode here.
Removing The Fiberglass Panels
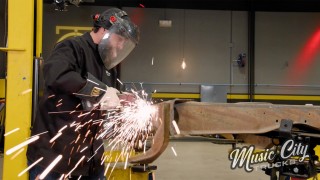
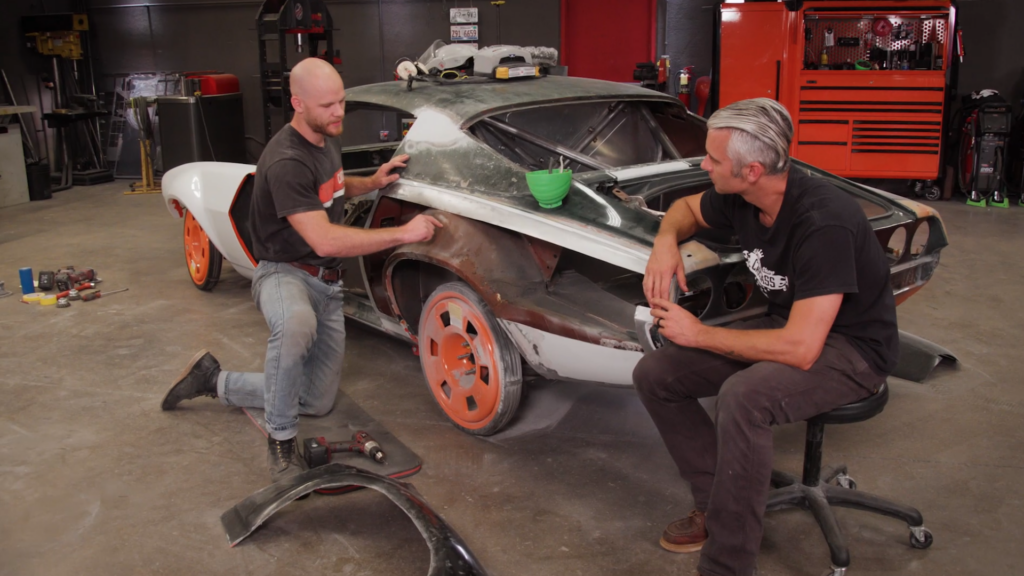
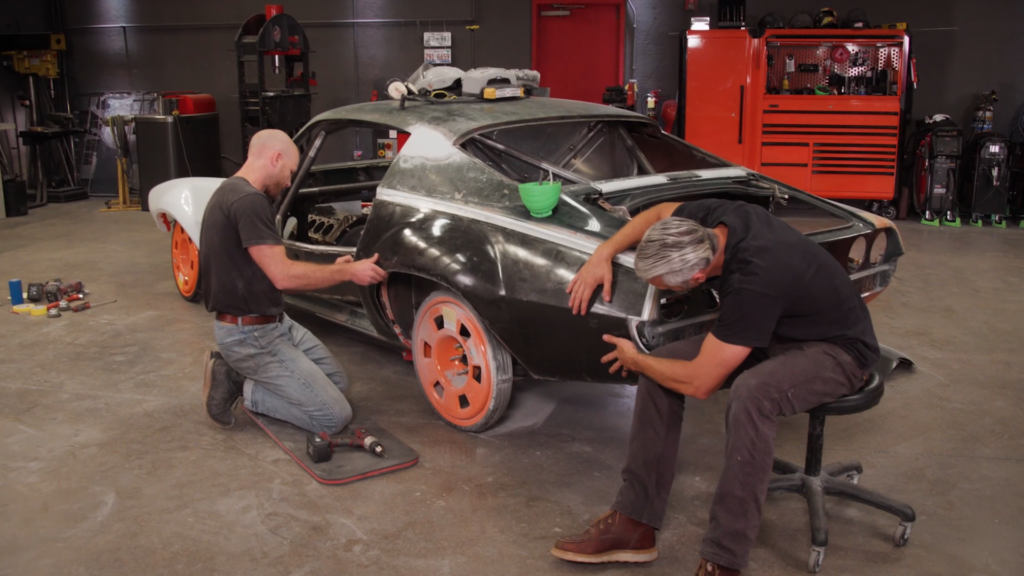
First, we began with the preliminary mock-up of a fiberglass quarter panel on one side of the car. We started by removing the driver’s side quarter panel and, by using tape, we outlined the area to cut, ensuring to leave a decent margin of sheet metal to which the new carbon fiber panel could be riveted once we do it on the real thing. To eliminate the risks of stressing or cracking the fiberglass, we made sure to cut out round edges instead of sharp pointed ones.
Once the old panels were removed and the edges were prepped, the car was ready for the installation of the carbon fiber panels. We cut the quarter panel and softened any sharp edges before moving on.
Expecting some potential problems from the wide tires we plan on installing, we will be eliminating the inner fender lip in the future. By removing that entire section, our rear tires will have more room to effectively move.
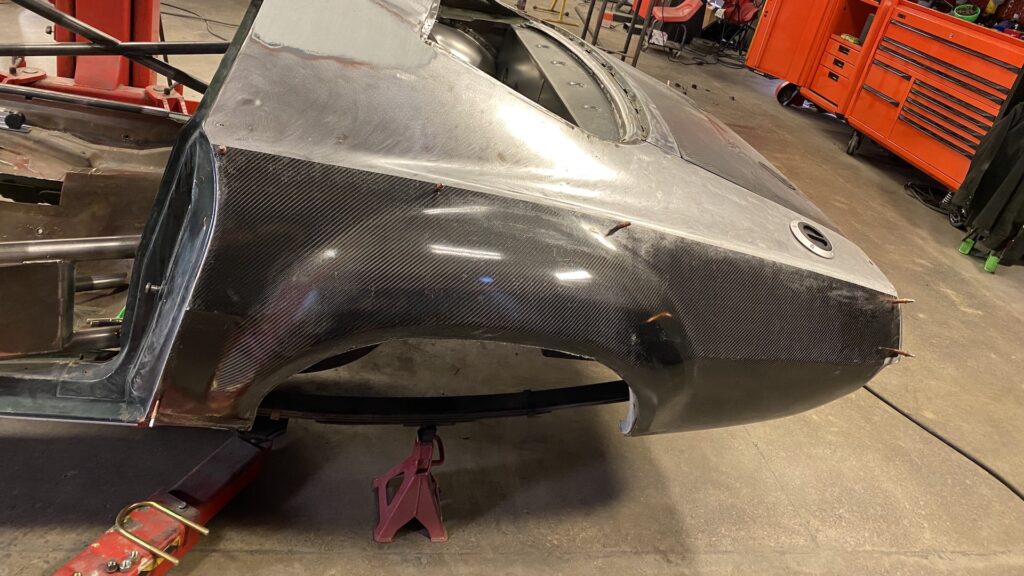
After drilling some holes through the carbon fiber, and adding some Cleco clamps, we were able to rigidly align the carbon fiber panel against the car. So, when we do the real thing, we’ll have a strong idea of what the finished product will look like.
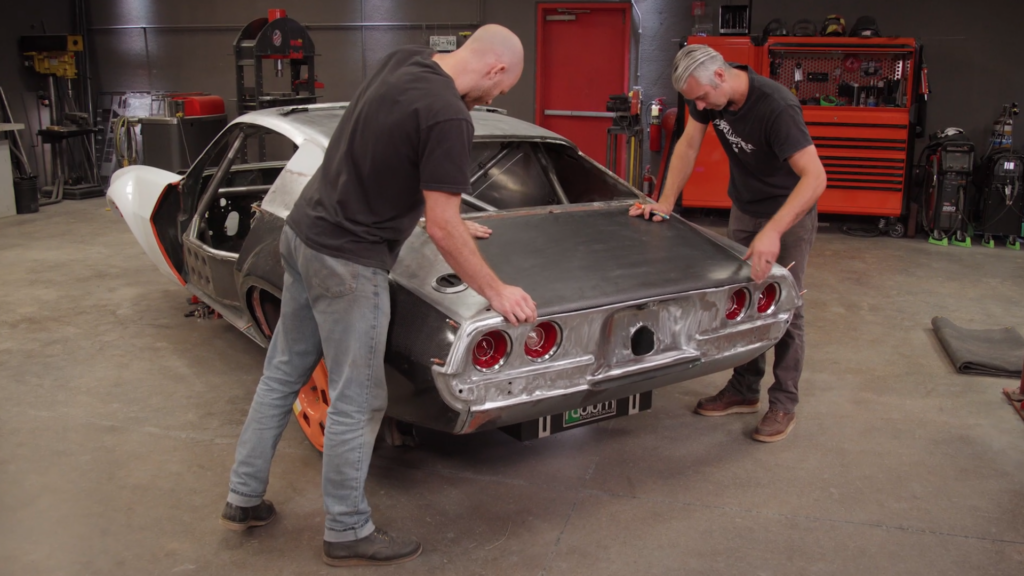
Installing The Carbon Fiber Trunk Lid
Another crucial step we undertook was installing the carbon fiber trunk lid. Unlike the quarter panels, we didn’t have a fiberglass mold to do our mock-up on. Instead, we had to do an overlay of the original deck lid. To mount it, we first had to remove the torsion bars holding up the original trunk lid hinges. Considering that we had no use for them, the easiest way to part ways with these bars was to cut right through them (while using proper protection).
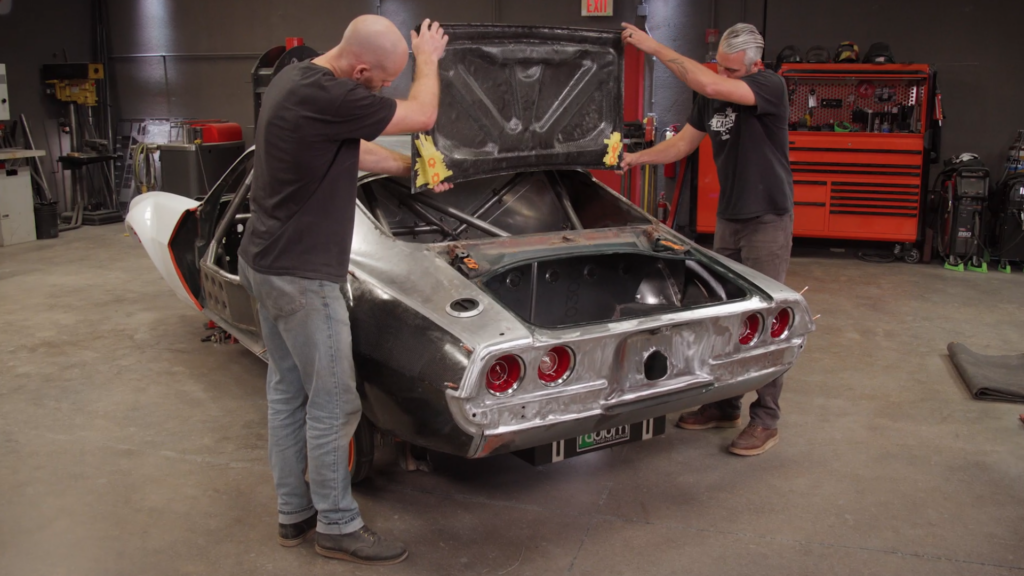
Once those bars were gone, we were able to map out the correct location of the holes for our new lid’s rivet nuts by using paint markers. By laying them flat on each other, we were able to transfer the hole location and find out where we’d be drilling.
With the carbon fiber deck lid fitted and aligned, our next task was to keep it secured. We decided to use a latch system from Summit Racing known for its secure connection and ease of installation. To mount the pins, we used 1/8th-inch steel cut into a 1-inch strip. Using this strip, we would turn it into two L-brackets that will be welded to the inside of the tail light panel, and they will each have a hole used to mount our pin.
Speaking of pins, we had to locate them on the underside of our carbon fiber deck lid. So when we mount the latch, we know exactly where to cut. Using a tape measurer, we were able to find the exact point from each edge of the deck lid, as well as the outer edge of the deck lid opening. Once we figured that out, we then did the same by measuring the exact location of where to weld our L-brackets.
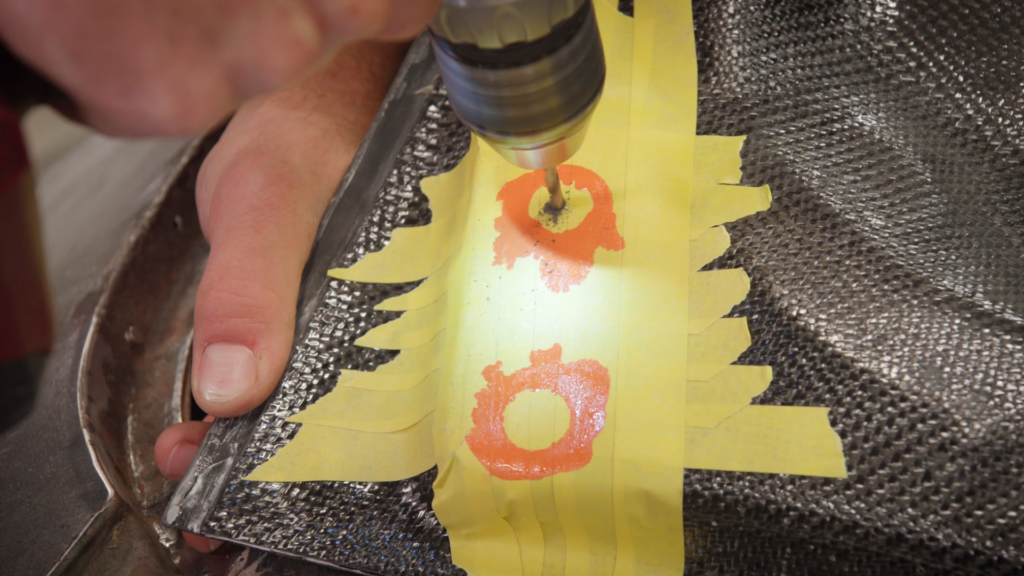
Using the same paint marker trick from before, we painted the tip of a pin and transferred that to the carbon deck lid.
Making our way back to the outside of our trunk, our next task is to trace the outline of our latches. Now that we have the locations of the holes, we want to create some symmetry. To start, we drew a center line down the middle with a reference point about a third of the way down. Next, using a straightedge, we traced out the center axis of our latches. By measuring from each hole to our reference point, both of our latches will be mirrored.
Using a tracing template that came with our latch system, we kept each hole in the crosshairs of our stencil to get the exact shape at the right angle that we wanted. We then used a hole saw to cut into the deck lid, and then trimmed up the outer edges before installing each latch.
Once we were done, these new modifications resulted in a lighter, stronger, and more modern look for our 1972 Road Course Camaro project.
Want to read more articles like this?
Join the PowerNation Email NewsletterRead More from PowerNation